
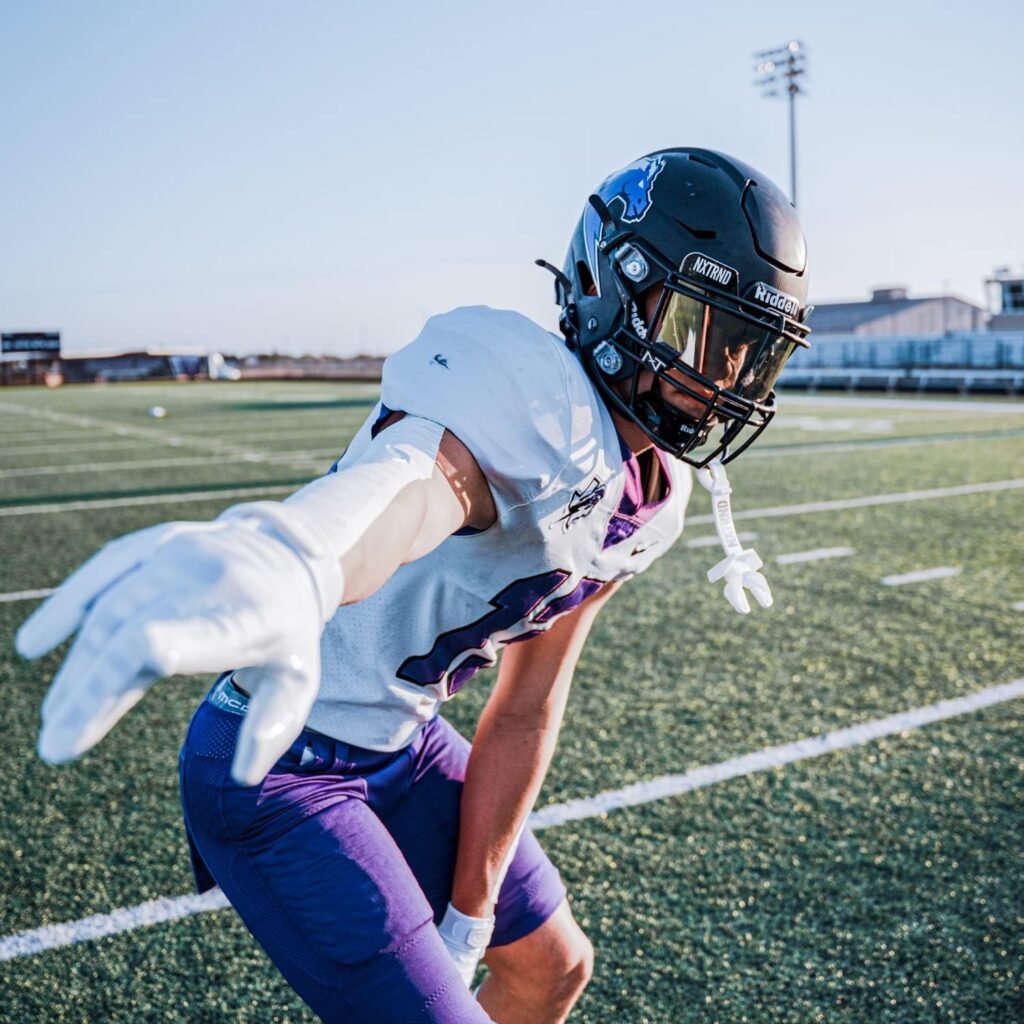
Football is a contact sport that requires players to wear protective gear, including helmets. However, sometimes the glare from the sun can be blinding and affect a player’s performance on the field. That’s where visors come in handy! Installing a visor on your football helmet not only protects your eyes from bright light but also adds an extra layer of style to your game. In this article, we’ll guide you through how to put a visor on a football helmet with easy step-by-step instructions and provide some helpful tips and tricks to make installation as smooth as possible. So let’s gear up and get started!
Installing visor on your football helmet is easy and really quick. You just need a visor, an football helmet, and a flat screwdriver. First, remove all the screws from the visor. Second, put the black rubber piece on the helmet and fix it with the screw. Then, slide the visor underneath the helmet and fit it about the middle of the helmet. Finally, remove the face mask and attach the visor to the helmet using screws.
What Tools Do I Need?
Before you start installing the visor on your football helmet, it’s important to make sure you have all the necessary tools. Here are the items you’ll need:
- A screwdriver – make sure it is the right size and type for your helmet’s screws.
- The visor itself – ensure that it is compatible with your helmet brand and model.
- Visor clips or hardware kit – these should come with your visor purchase but double-check just in case.
It’s always a good idea to read through any instructions or manuals that came with your visor before starting installation. This will help ensure that you don’t miss any important steps or use incorrect pieces of equipment.
In addition, consider having someone assist you during installation as an extra pair of hands can be helpful when attaching parts securely. By gathering all needed materials ahead of time, you can avoid frustration and complete this task more efficiently!
More From Helmetinsights’ Blog
Step by Step Instructions on How to Put a Visor on a Football Helmet
Putting a visor on your football helmet can be intimidating, but with the right tools and some patience, you can easily install it. Here are step-by-step instructions to help you:
- First, make sure that you have all the necessary tools: a screwdriver, screws or clips depending on the type of visor you have, and your football helmet.
- Next, locate the attachment points on your helmet where the visor will be installed. These are usually located at the sides near the front of your helmet.
- Then carefully attach one end of your visor onto one side using either screws or clips. Make sure that it is securely attached before moving on to attaching the other end.
- Attach the other end in exactly the same way as before while ensuring that both ends are aligned correctly.
- Once both ends are attached properly proceed to tighten any remaining screws if needed until it is firmly in place without being too tight which might damage your helmet plastic.
- Finally take a look at how well everything fits together by adjusting for comfortability so grab hold of each side and give them wiggle test to ensure they won’t come off during playtime!
By following these simple steps towards putting a visor onto a football helmet there’s no need to worry about keeping up with others who already know how!
Tips and Tricks for Easier Installation
When it comes to installing a visor on your football helmet, there are some tips and tricks that can make the process much easier.
- First of all, it’s important to choose a visor that is compatible with your specific helmet model. This will ensure a proper fit and reduce the chances of any complications during installation.
- Before beginning the installation process, make sure you have all necessary tools such as a screwdriver, screws or clips depending on the type of visor you have. It may also be helpful to have an extra set of hands available to assist with holding parts in place while fastening them down.
- One useful tip is to start by loosening up any existing hardware before removing it completely. This will help prevent stripping or damaging screws or other components during removal.
- When positioning the new visor onto your helmet, take care not to twist or bend it out of shape as this can affect visibility and overall performance.
- Make sure everything lines up correctly before tightening down screws or clips securely.
- Don’t hesitate to seek assistance from professionals if needed. Many sporting goods stores offer free installation services for purchased equipment like football helmets and visors. Taking advantage of this opportunity can save time and hassle in trying to do it yourself without prior experience.
By following these tips and tricks for easier installation, you’ll be able to enjoy enhanced protection and improved vision on the field without added stress or frustration during setup.
Common Mistakes to Avoid When Installing a Visor
Installing a visor on your football helmet is not an easy task, and it requires attention to detail. While it may seem simple, many people make common mistakes that can lead to the visor not being installed properly.
- One of the most common mistakes when installing a visor is forgetting to clean the inside of the helmet before installation. Dirt or debris left in the helmet can cause discomfort during play and affect vision through the visor.
- Another mistake is forcing the screws too tightly into place. This can cause damage to both the helmet and visor, making them unusable for future use.
- It’s also important to align the holes correctly when inserting screws into place. Failing to do so will result in an uneven fit which could affect visibility on one side more than another.
- Always ensure that you have purchased a compatible visor with your specific helmet model. Purchasing incompatible parts will only lead to frustration and wasted time.
By avoiding these common mistakes during installation, you’ll be able to take full advantage of all that your new football helmet visor has to offer while keeping yourself safe on field!
Alternatives to the Football Helmet Visor
While football helmet visors are a popular accessory among players, they may not be suitable for everyone. If you’re looking for alternatives to the traditional visor, there are several options available.
One alternative is the tinted eye shield that attaches directly to the face mask of your helmet. These shields come in various colors and offer similar protection from glare as a visor. They can also be easily removed if needed.
Another option is wearing sunglasses or sport-specific eyewear under your helmet. This allows you to customize your eye protection based on personal preference and comfort level.
If you prefer an unobstructed view while playing, consider using a clear shield that covers only the upper portion of your face mask. This provides some protection from debris without blocking your field of vision.
Ultimately, choosing an alternative to the football helmet visor depends on individual needs and preferences. It’s important to weigh all options before making a decision on which works best for you.
Conclusion
Putting a visor on your football helmet can be a simple and straightforward process with the right tools and instructions. By following these steps outlined in this guide, you will be able to install your visor correctly and efficiently.
It’s important to remember to use caution when installing a visor on your football helmet as mistakes could lead to injury during play. Always double-check that the visor is securely attached before taking it onto the field.
If for any reason you are struggling with installing your football helmet visor, consider seeking help from a professional or someone experienced with this task.
Adding a visor to your football helmet not only looks great but also provides added protection against harmful UV rays and flying debris. So what are you waiting for? Get out there and start customizing your gear!